Thursday, April 27, 2017
Joomla Template Installation
Joomla Template Installation
There are many ways to Build a website, one of them using Joomla CMS. Here I will explain to you about the process of installing Joomla 2.5 on the local server, in your personal computer. CMS (Content Mangement System) Joomla is very powerful CMS websites supported with the great security system, easy in operation.
Installing Joomla website on the local server, we must to install Webserver system such as Wamp Server. After WebServer installed correctly, then we can begin the installation process for our joomla site. In this case we are using Joomla version 2.5, you can download the latest version here. Extract the Zip file that you have download then rename as you want. Look at the picture below!

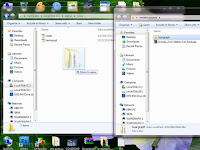

The Folder that you renamed, copy into your web server directory. If you are using Wampserver, copy the folder to the www directory (C: wamp www). Make sure Wampserver already in active with the indication icon is green colour. Then type the name of the folder that you copied to your web browser "localhost/suargraph/", the browser is ready to run Joomla installation process. Look at the picture below!

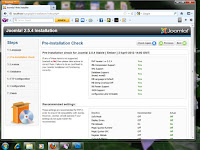

Step 1 Languange, choose your default language is used. Step 2 joomla checks your web server system, green means its in accordance with the recommended system Joomla. In setting conditions that are not recommended even joomla can still run. Click next!
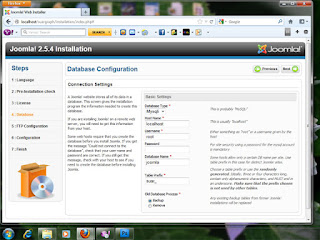
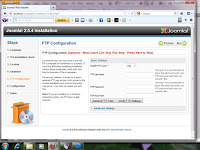
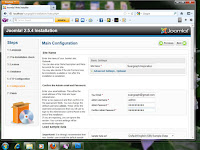
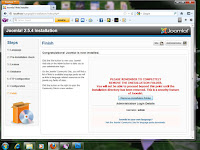
We get to the configuration database that need to be filled. On the default setting, fill username as root, password as blank. Then the database name and table prefix you are specify by yourself. Then click the Next button! Step 5, FTP configuration that we can skipped it, and the click Next button. The next step is to fill its Main Configuration. Sitename is name of the website that you want, then fill your email address, admin username and admin password you set yourself. Username and password will be used when we want to access the joomla admin to manage the content and the overall look of your website. Click next we will arrive at the last step to remove the folder installation. Click Remove and then click Next button, the installation process has been completed. Look at the picture below!
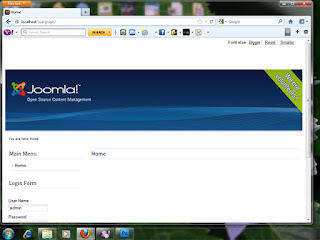
Then we will check the frontend of your website, Click Site button will appear as shown below!
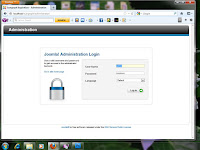
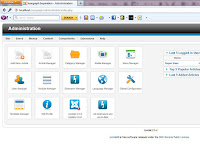
To make major changes of content, and template or system your site, we have to go to system administrators as appearance below!
So the joomla installation is finished and you get ready to a manage content and system in joomla site. For more clearly lets see the video tutorial on this article!
Available link for download